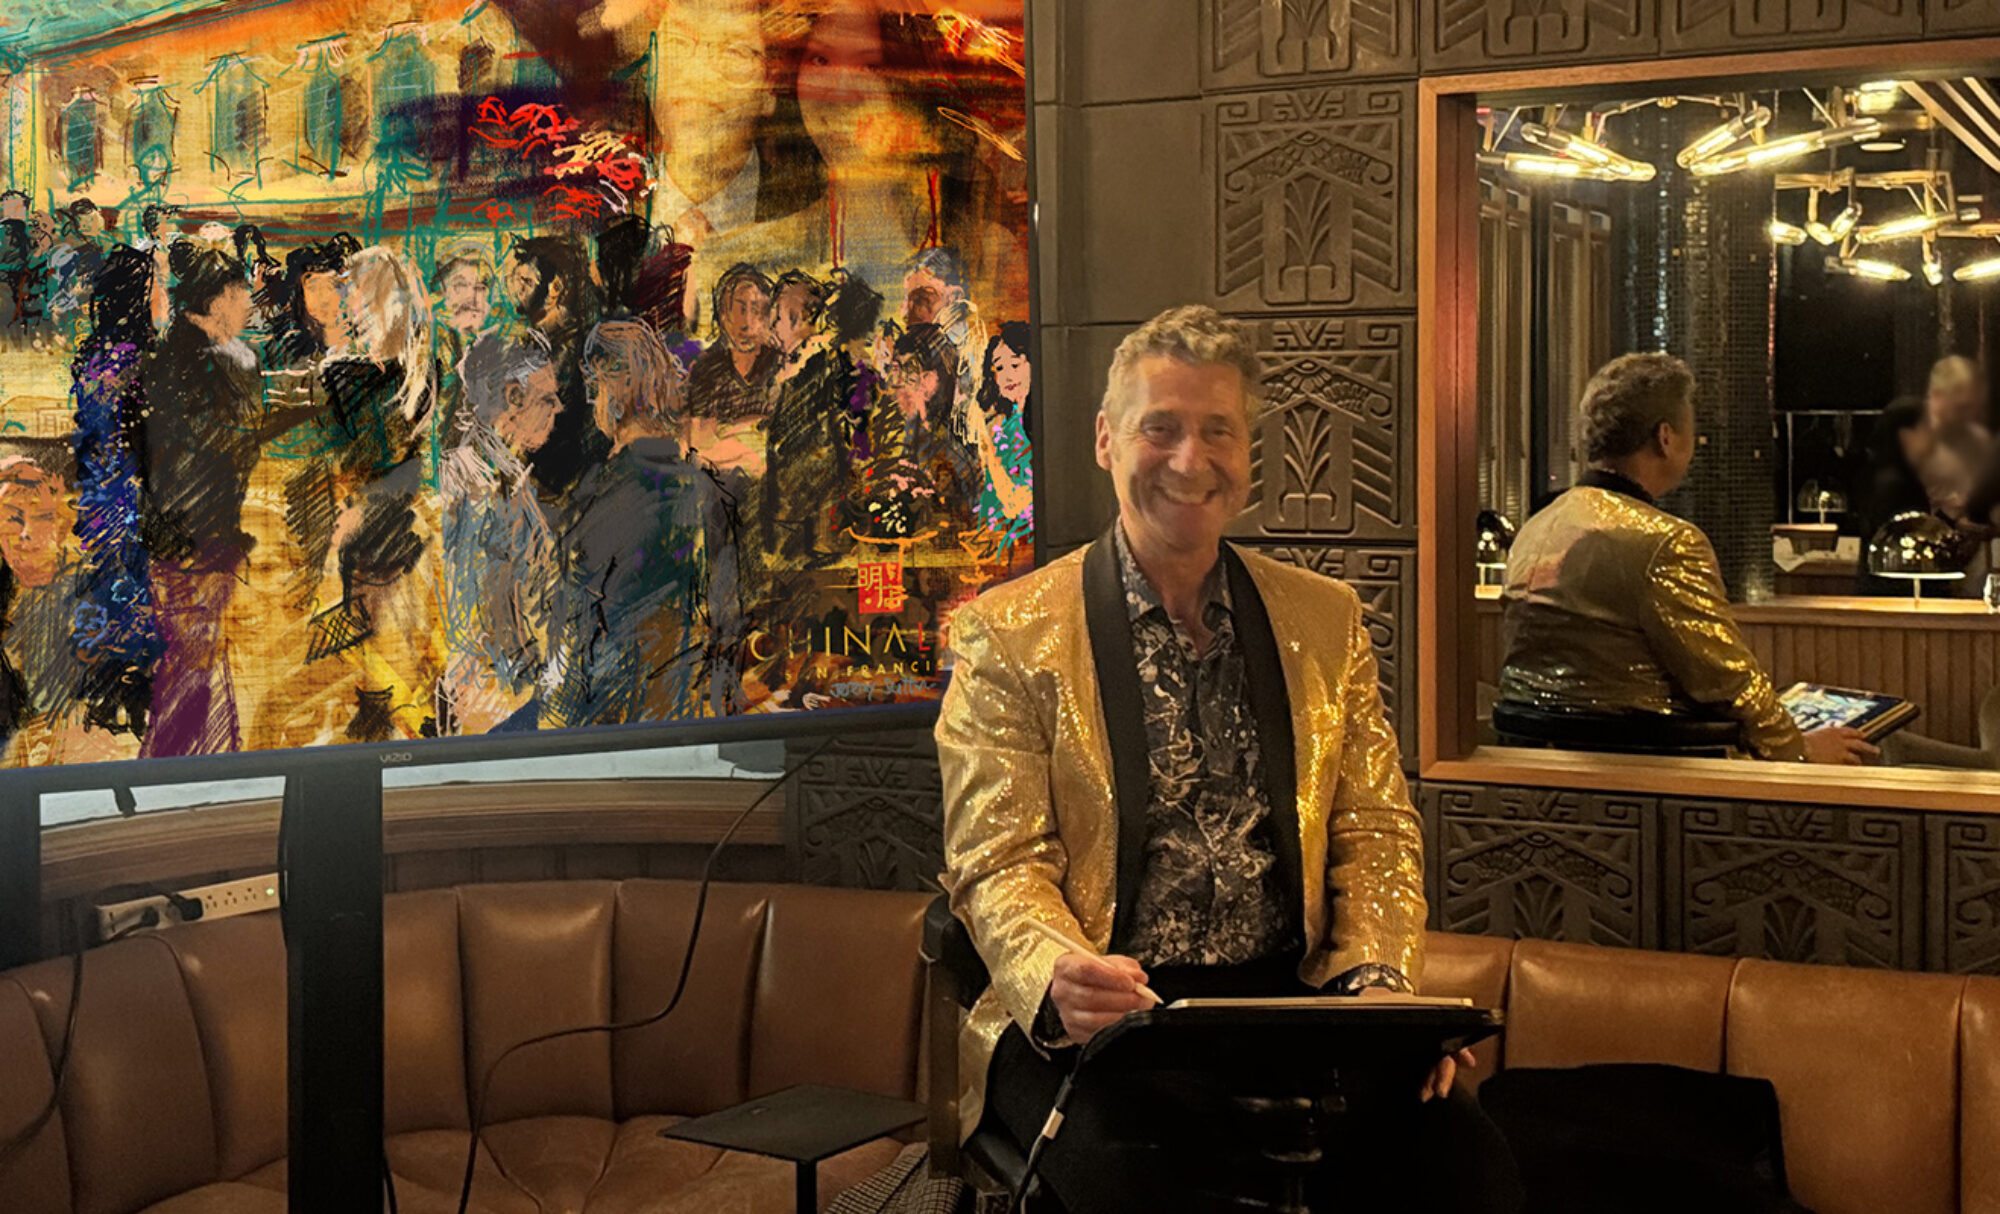

At the Mobile Digital Art Exhibition Grand Opening (August 11th, 2017, Pacific Art League, Palo Alto) with my iPad sketch of Happy Menocal
The juried Mobile Art Exhibition included, as you see in the photo above, my iPad sketch of fellow artist Happy Menocal.
Happy Menocal Sketching at Opening of the new Apple Store Union Square
Time-lapse replay, 2016, iPad Pro, Apple Pencil, Procreate
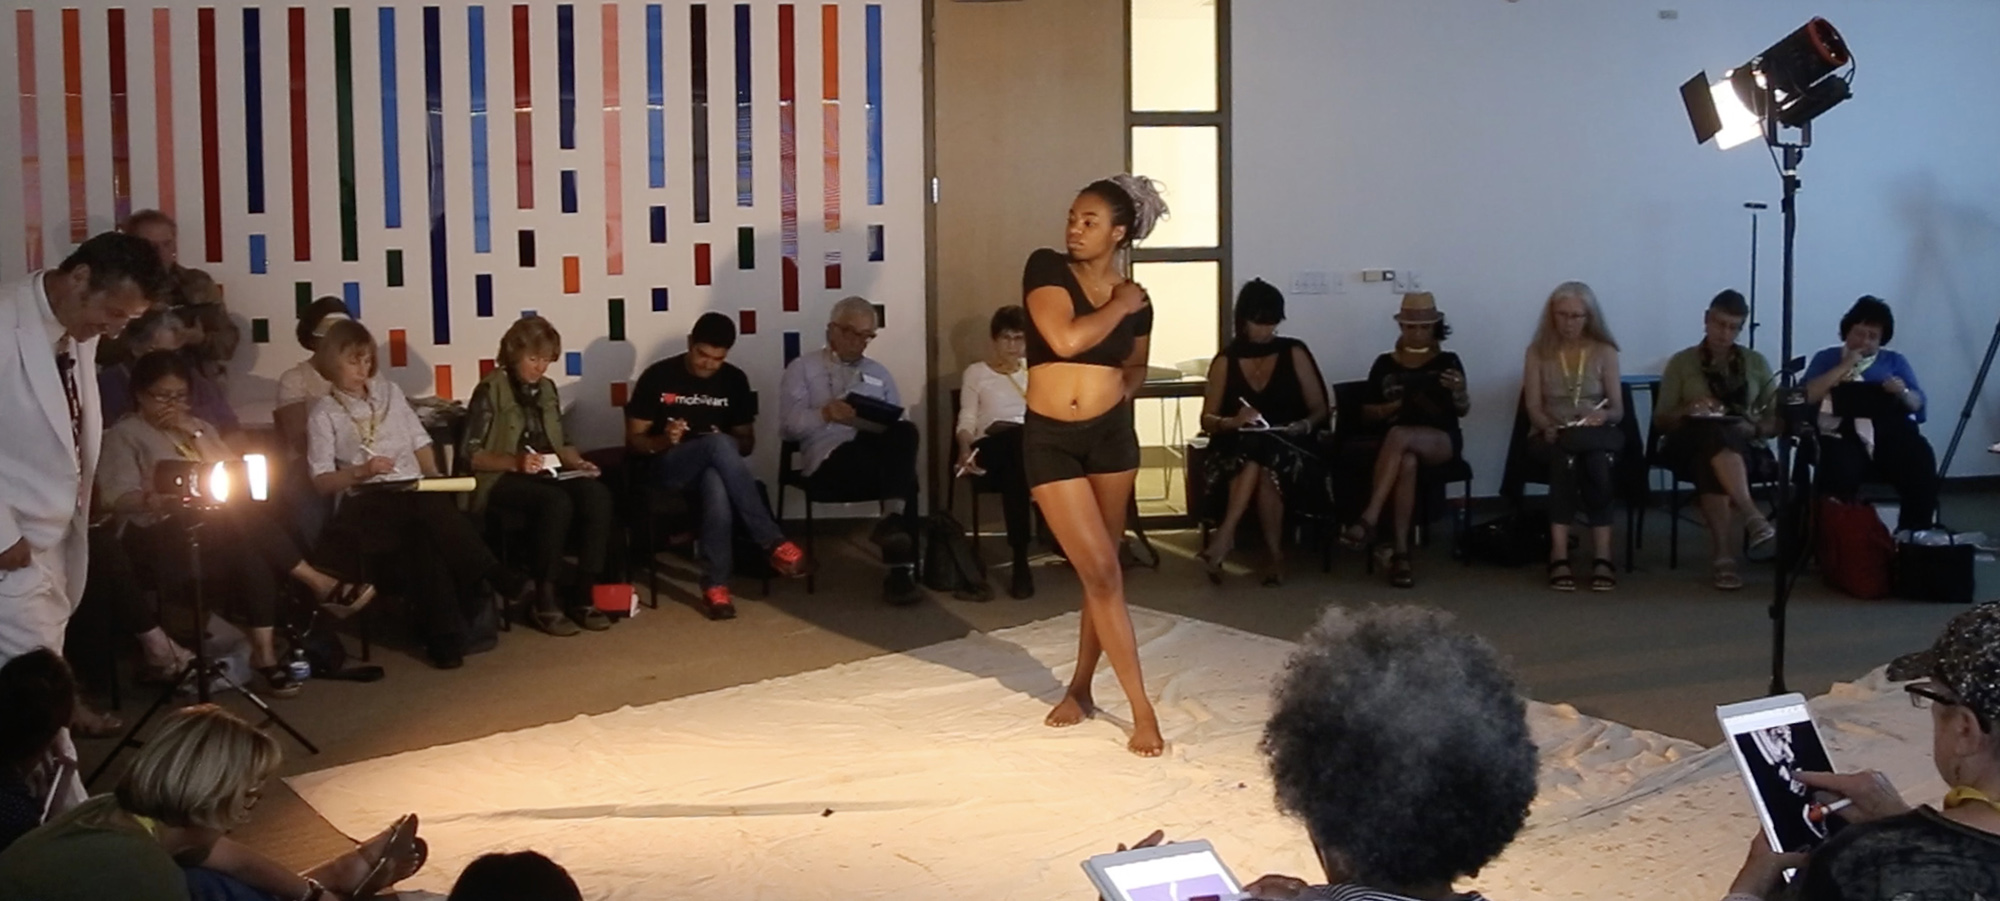
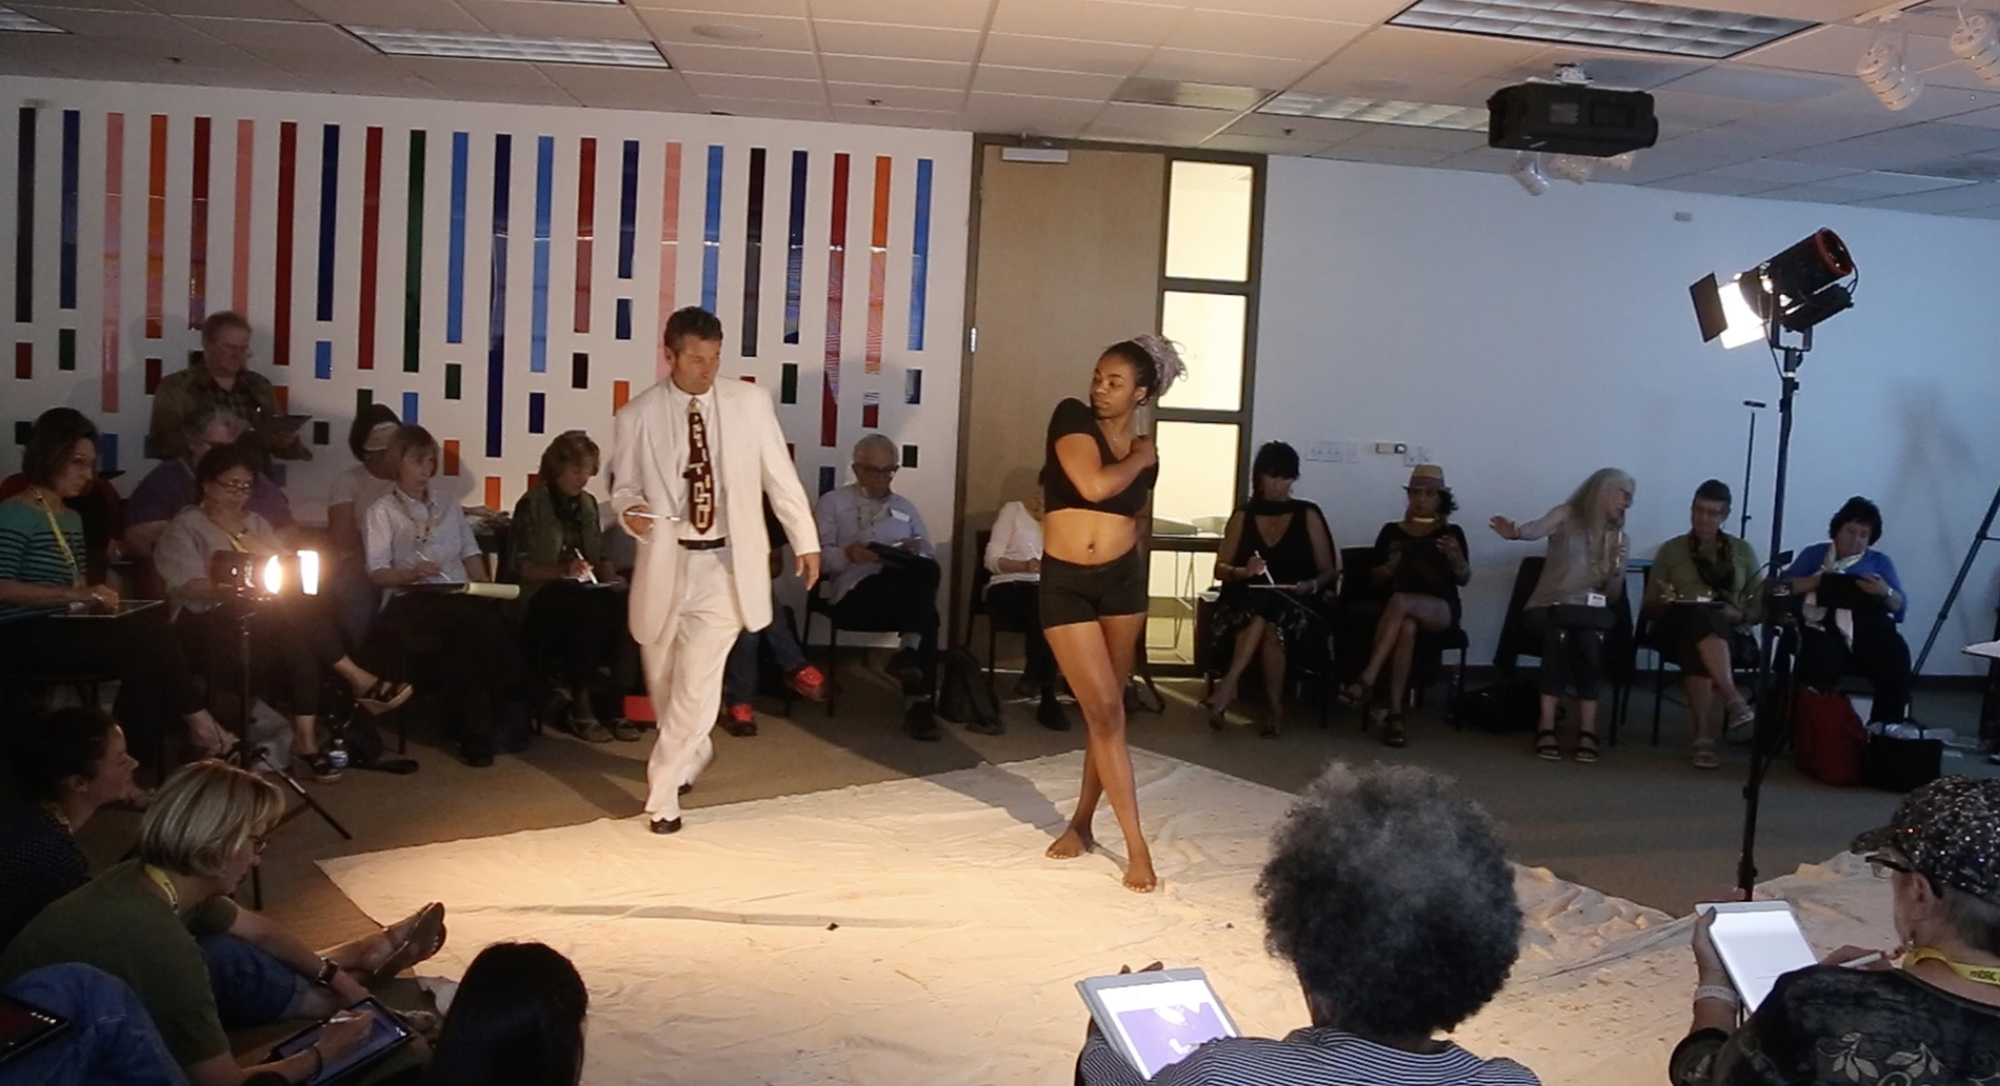
Teaching the iPad Figure Drawing Class at the mobile Digital Art & Creativity Summit (mDAC17) in Mountain View, on August 13, 2017, with model Kassamira (and approximately 60 students).
In my class we drew from the model and explore movement, shape, line and tone, starting with short and moving poses and ending with longer poses. We used the app Procreate.
On the artistic side, we honed observational skills, experienced capturing the essence of a pose with rapid gestures, and worked with positive and negative shapes, and use of line and value contrasts. On the technical side, we learned how to import and transform backgrounds; choose, adjust and customize brushes and brush looks; work with layers; and playback, save and share the entire creative process as a time-lapse replay video. Here are a few examples of artworks created during the session:
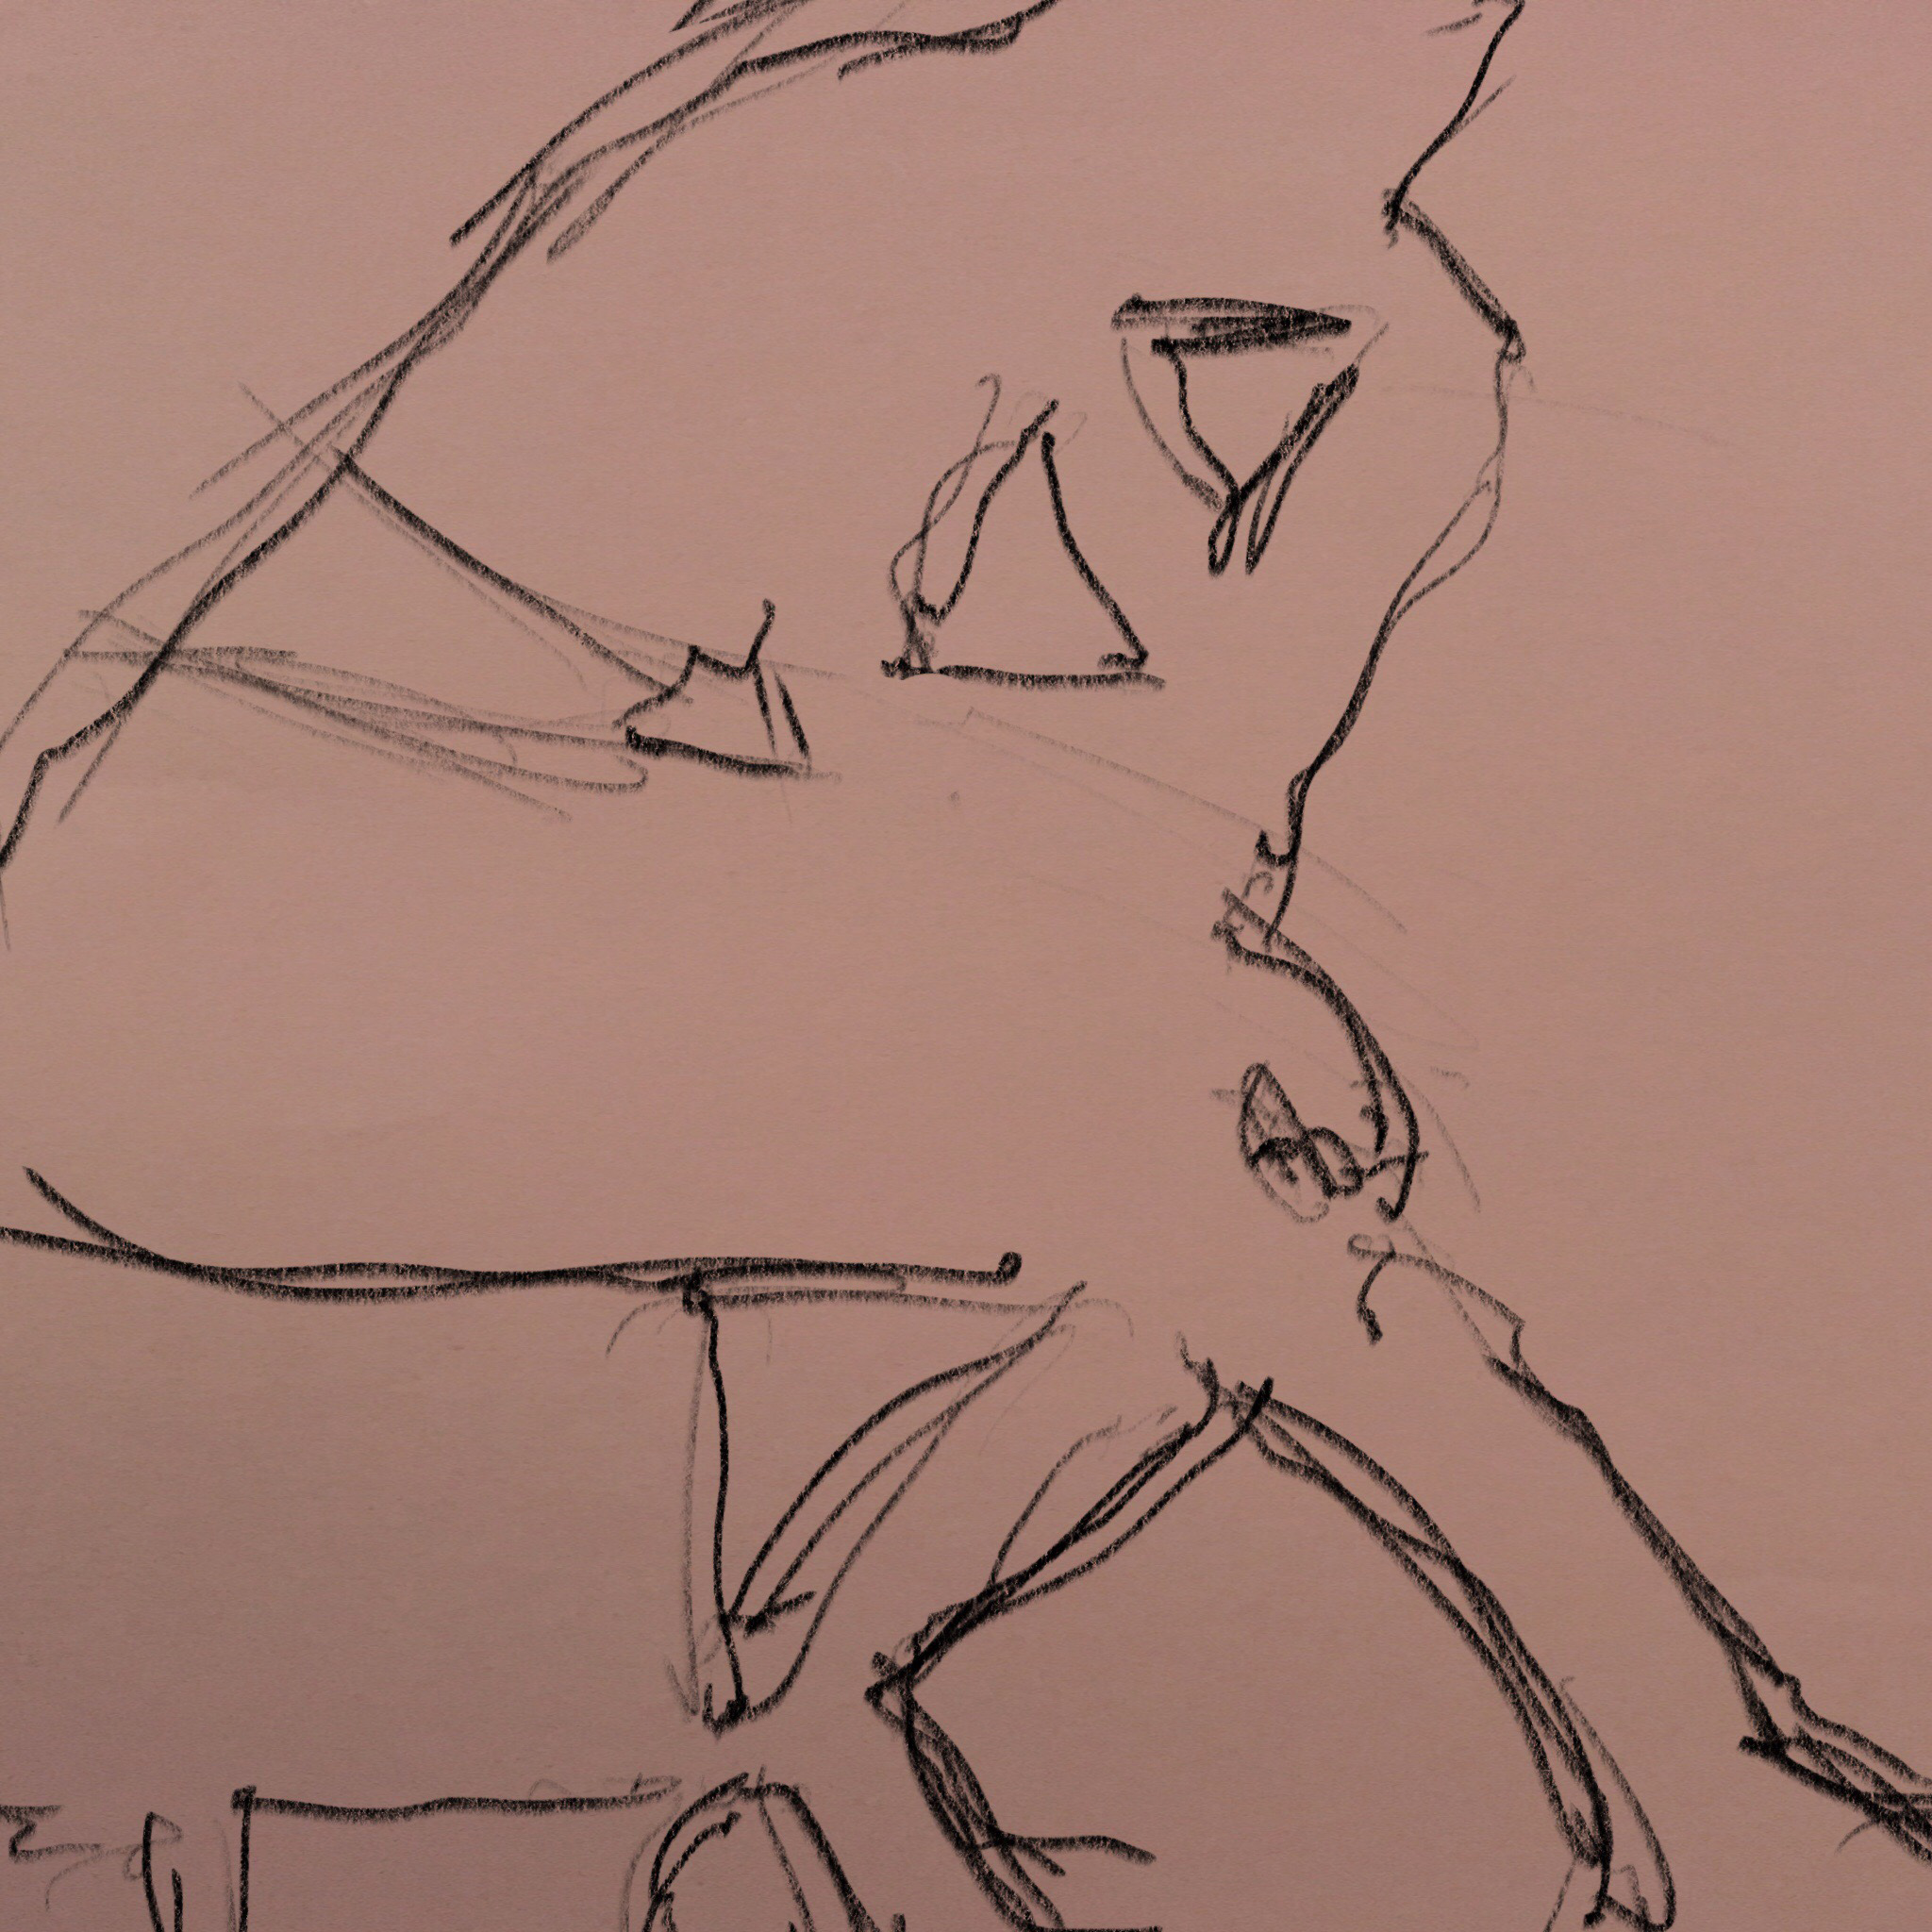
 Gestures by Alan K.
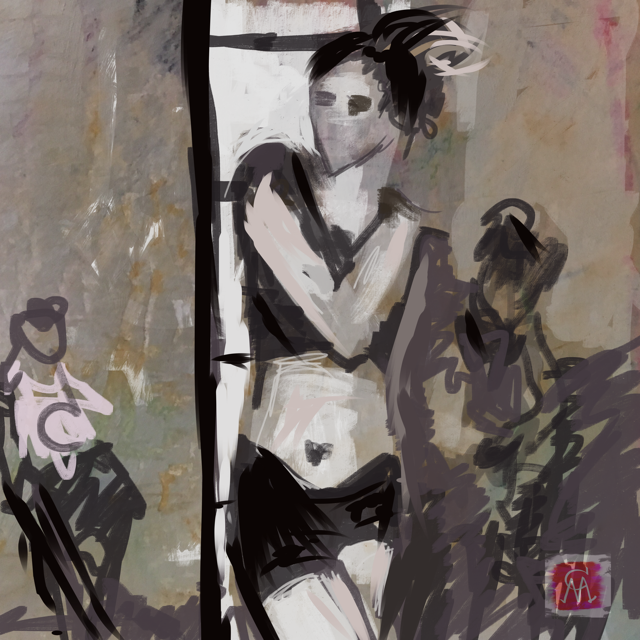
 Focus on positive and negative space by Alan K.
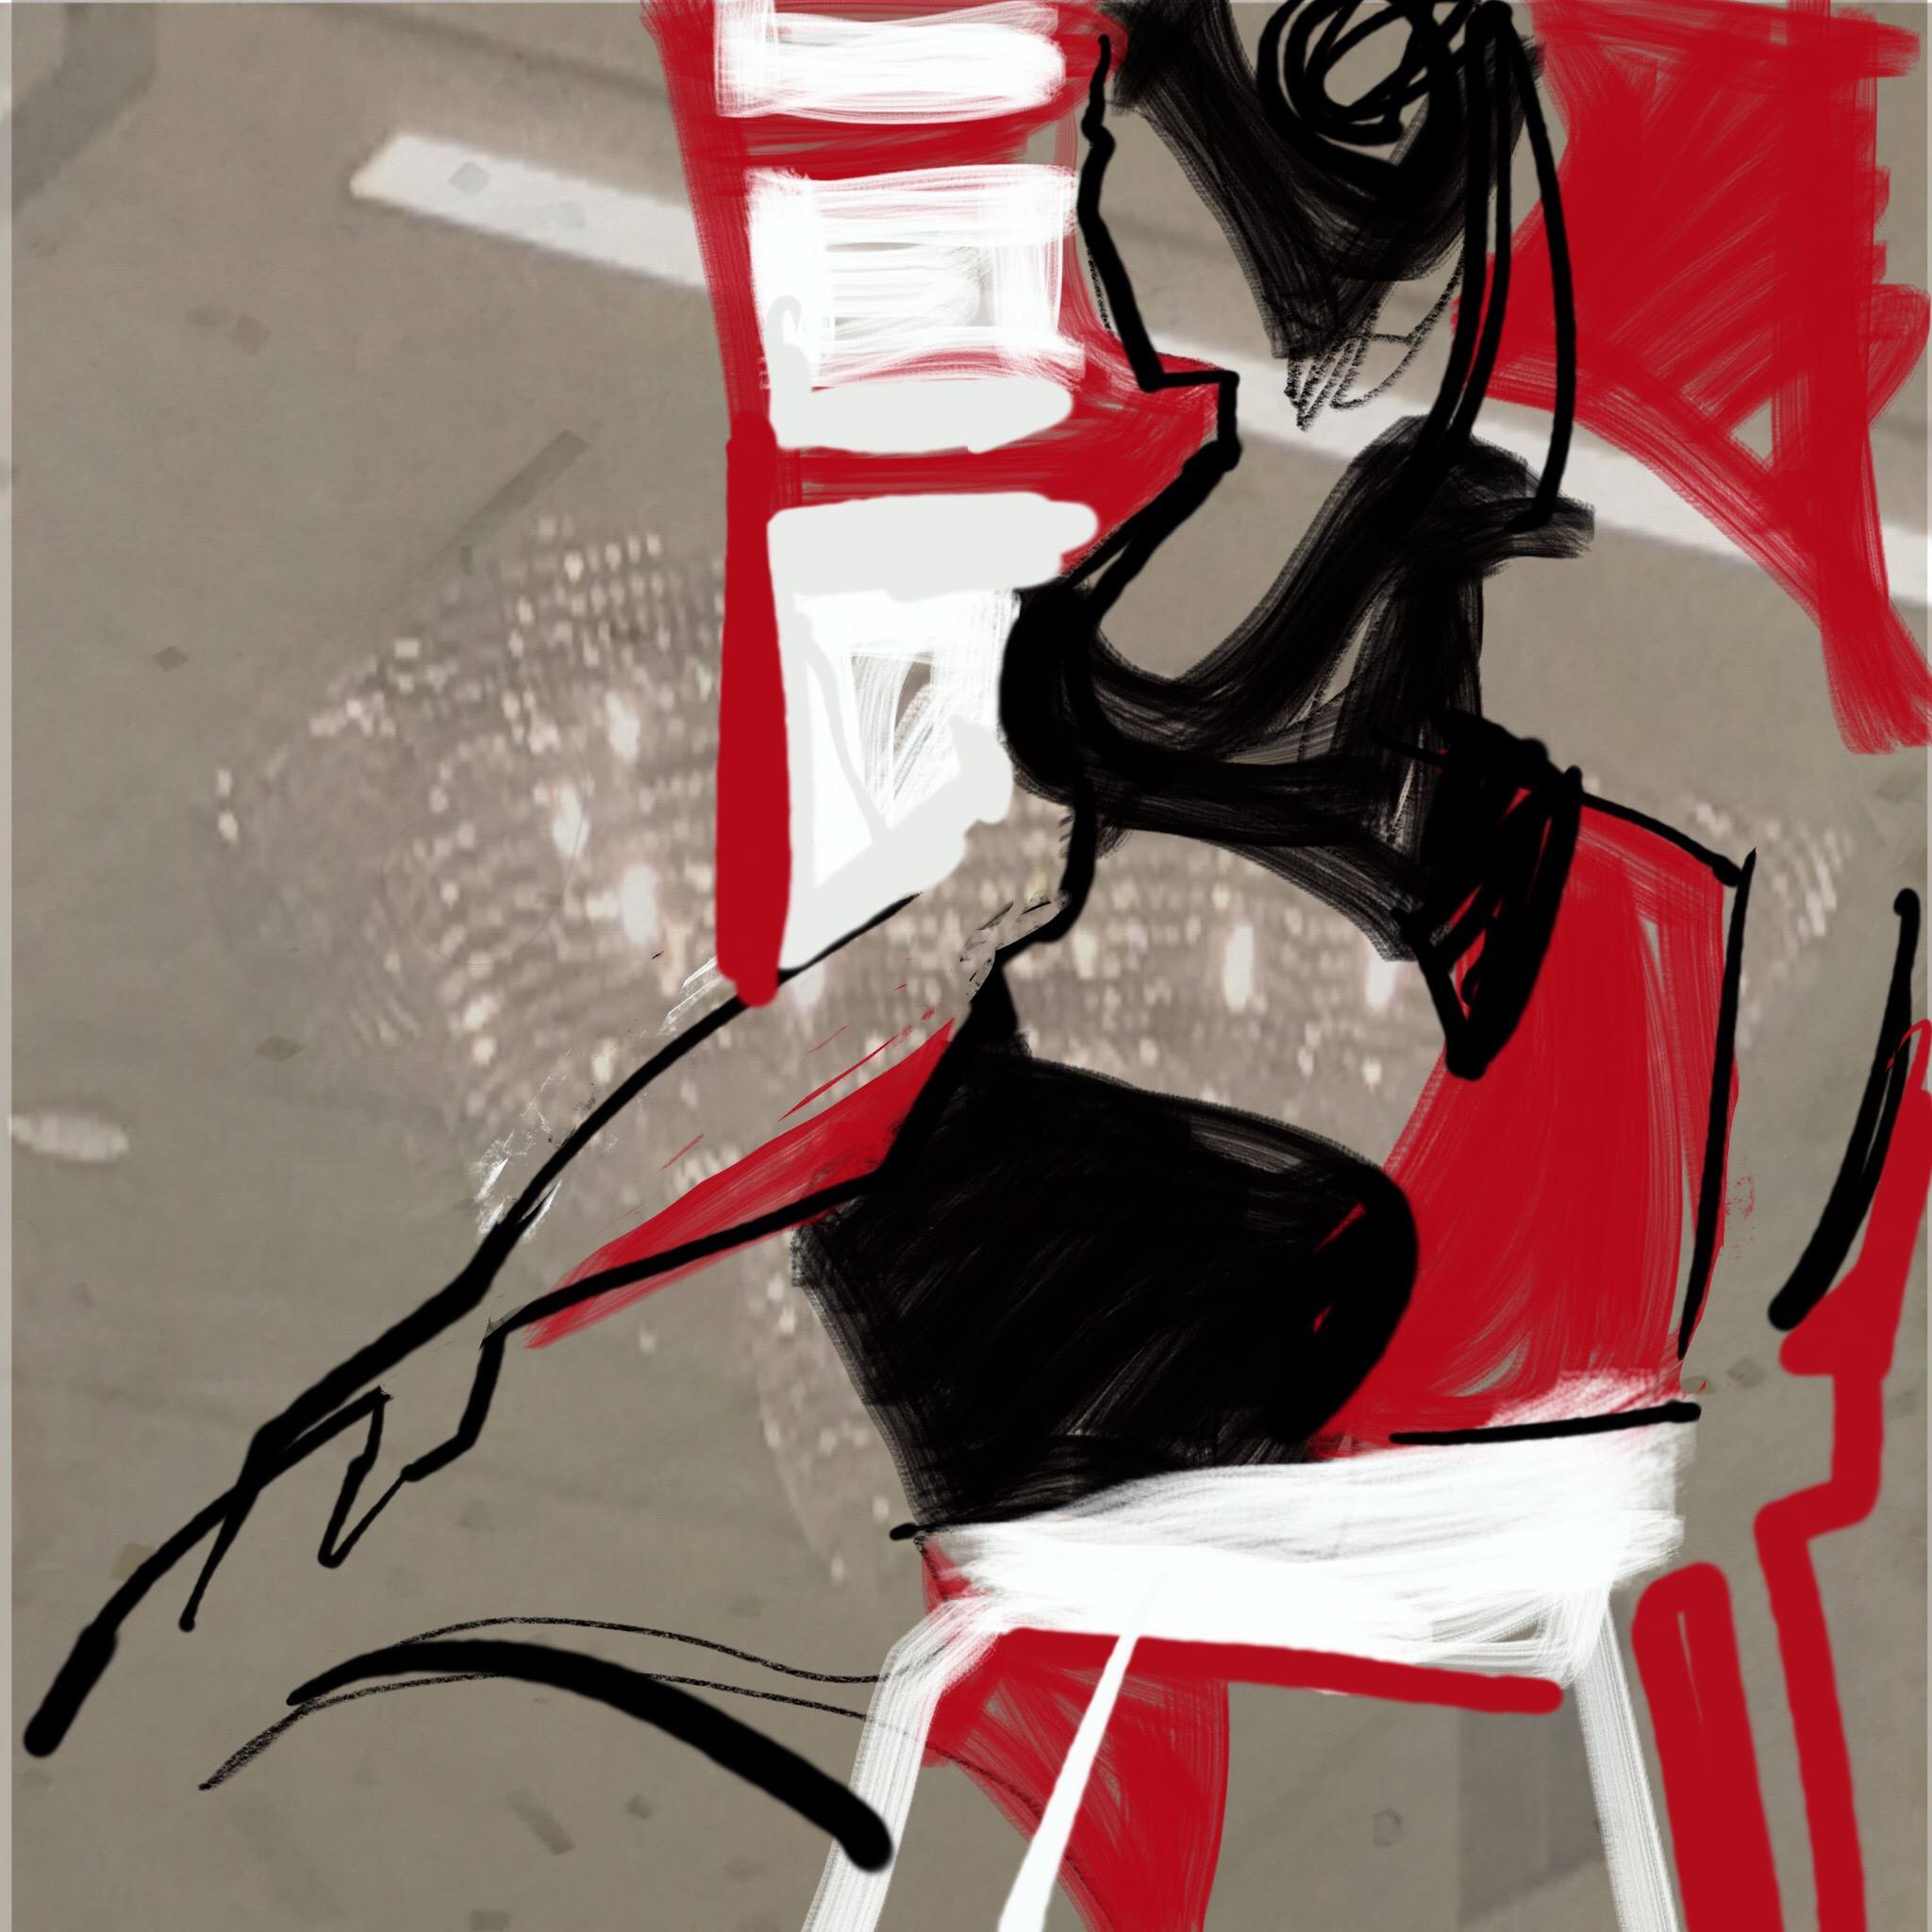
 15m drawing by Alan K.
 5m drawing by Caroline Mustard
 5m drawing by Rhoda Draws
See the posts from my earlier mDAC Figure Drawing Classes at mDAC 2015 and mDAC 2016.


Teaching the iPad Figure Drawing Class at mDAC15 with model Inky
NOTES
Class prep:
1. Install Procreate
Please make sure you have the latest version of Procreate installed on your iPad ahead of time.
2. Have a Stylus
If you have an iPad Pro then the Apple Pencil is a must, and that is the combination I highly recommend! The iPad Pro and Apple Pencil are an mobile artist’s dream combination! If you are using a older / different model of iPad that doesn’t work with the Apple Pencil, then see my iPad Art Tools page for other stylus recommendations.
3. Pre-Charge Your iPad and Stylus
Please ensure you fully charge your iPad and, as relevant, your stylus, overnight before class.
4. Label Your Equipment
Please clearly label everything, especially your iPad and stylus/es, with your name: it’s very easy to accidentally pick up someone else’s stylus.
5. Make a Dedicated Art Apps Home Page
I recommend organizing your art apps and grouping them together in a dedicated art apps “home page”. As you swipe from one home screen full of app icons to another, these pages are what I am referring to as “home pages”. Some may prefer grouping art apps into a folder. You can move app icons around, including from one home page to another, by pressing and holding on any icon until they all shake. Once they are shaking you can drag the app icons from one position to another, and when you drag them to the edge of a screen they jump into the adjacent home page. To stop them shaking, click on the home button, the round depression at the bottom of the iPad below the screen.
6. Place Your Settings, Photos and Camera Icons in Your Dock
Using the same technique for moving app icons around, I recommend making sure your dock includes the Settings (looks like a set of gears), Photos (looks like a multi-colored flower) and Camera app icons. The Dock is the row of icons you see at the bottom each home page, that remain the same whichever page is being viewed.
7. Capture and Organize Backgrounds
With your iPad please photograph some thick fine art papers, distressed walls and all sorts of interesting textures and surfaces. Then select these in your Camera Roll, choose Add To, create a new album called Backgrounds, and save them into this album. We’ll be making use of them in class.
Ten handy drawing tips:
1. Look before / as you draw
2. Make every mark meaningful & intentional
3. Be committed to your marks (no undo / redo)
4. Draw fast – don’t fuss or worry about mistakes
5. Draw loose – have fun, be fluid and flow
6. Start with big, bold statements
7. Use all your paper – draw to / off edges
8. See as an abstract – the positive and negative
shapes in and around your subject/s
9. Go for the feel, the lines of force, of the pose –
imagine holding that pose yourself
10. Less is more – suggest and be selective – ok
to leave unfinished and incomplete
See you this Sunday at mDAC Jeremy!
So looking forward to it.